Back in the early 1970s when I worked for Monte Zucker his studio consisted of a pair hand painted backdrops painted on eight-foot wide roll-up linen window shades, a 30"x30" silver reflector and whatever North facing window was available at a clients home; he did all of his formal portraits by window light.
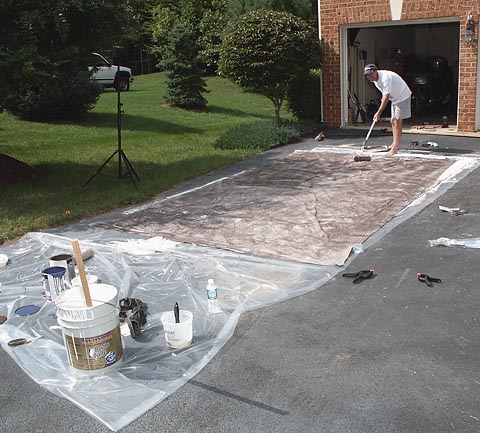
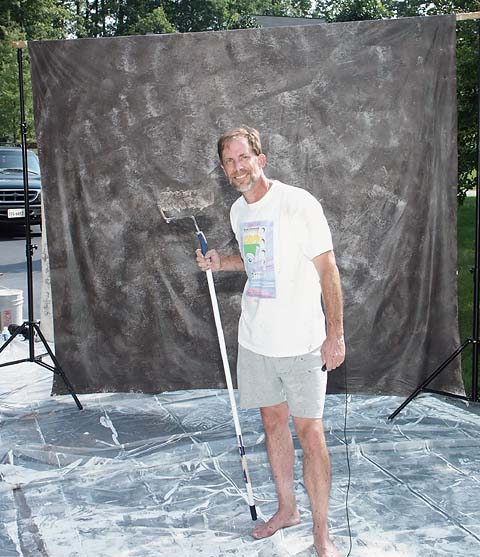
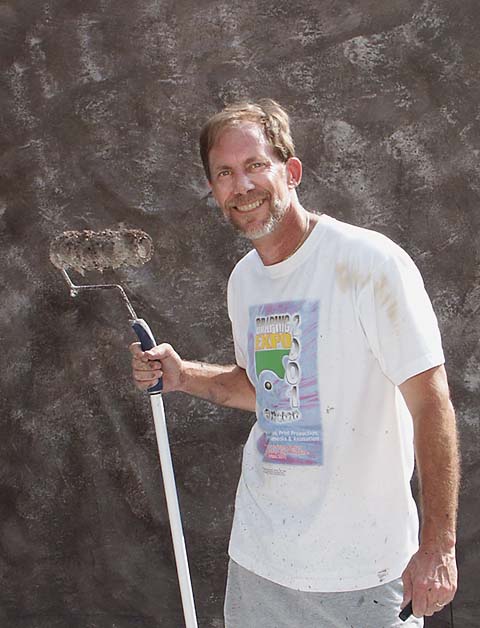
After 20 years of back and forth moves to Manila as a printing specialist for USIA and the State Department I finally had space for a permanent studio so I bought a set of lights and finally had the need and motivation to paint one myself. I got 10' wide fabric from Walmart and use latex wall paint. I worked on my driveway over plastic and first applied a coat of shell white with a roller to seal it. I didn't take a photo of that step, but is photo taken later in the process shows how it was laid out.
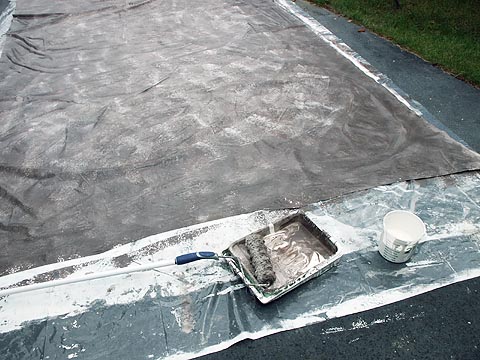
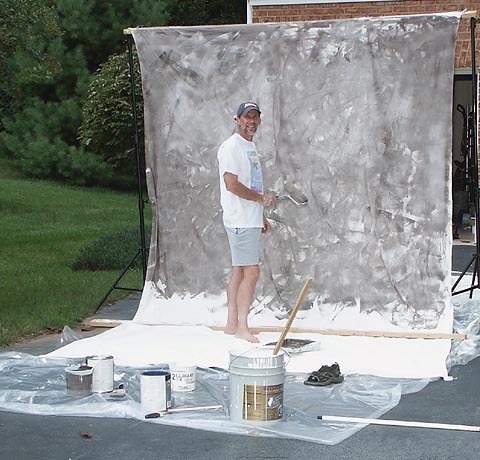
I did this in several coats, making each a bit darker and vignetting towards the edges; no background light needed that way. I found it easier to swipe the surface with the roller in a random pattern if it was hanging so I suspended it on a pair of light stands.
My background holder is also DIY.
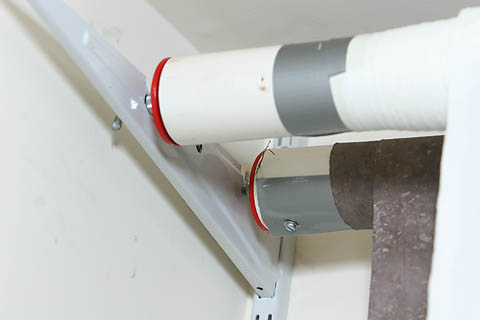
Also in retrospect I would have just purchased the Bogen auto-pole system with chain drives instead because it is a PITA to roll the background up. Down is gravity assisted and easy, up is the chore; especially for the painted one which is quite heavy. To prevent the background from unrolling by itself I attach a big A clamp the end of the pipe. The clamp hitting the ceiling stops the rotation.
The PVC was a good idea (it will work with the Bogen system) but I do not recommend you try this hanging method if you change backgrounds frequently.
Holistic Concepts for Lighting
and Digital Photography
This tutorial is copyrighted by © Charles E. Gardner. It may be reproduced for personal use, and referenced by link, but please to not copy and post it to your site.
You can contact me at: Chuck Gardner
For other tutorials see the Tutorial Table of Contents