by Window Light
Learn how light works to model a 3D face in 2D using window light before spending a lot of money on lighting gear. It costs little beyond your time and will will save you money in the long run because you'll understand intuitively what you need and be able to get better results with less.
You need a window with soft indirect light. A north facing window has that all day in the northern hemisphere. South of the equator use a south facing window. Use any white board as a reflector for fill. Foam core works well because it is light, cheap, and sturdy. Mat board, fabric on a PVC pipe frame, etc. will also work. The windex is no joke. A clean window can be a full f/stop brighter than a dirty one.
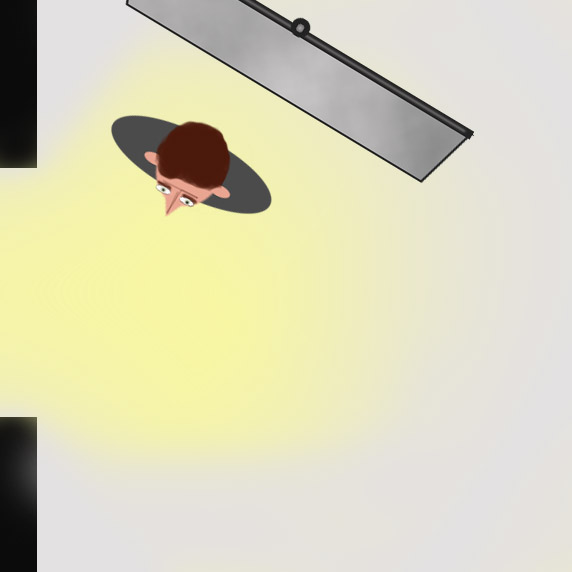
Start by facing the subject at about a 45 degree angle to the window, which will create a nice short lighting pattern on the face. Keep the light only where you want the viewer's eye to go; the eyes and the front of the face. If it spills over past the front and hits the ear adjust the subject to the light (turn away from it slightly). If one eye is in shadow adjust the face more towards the light.
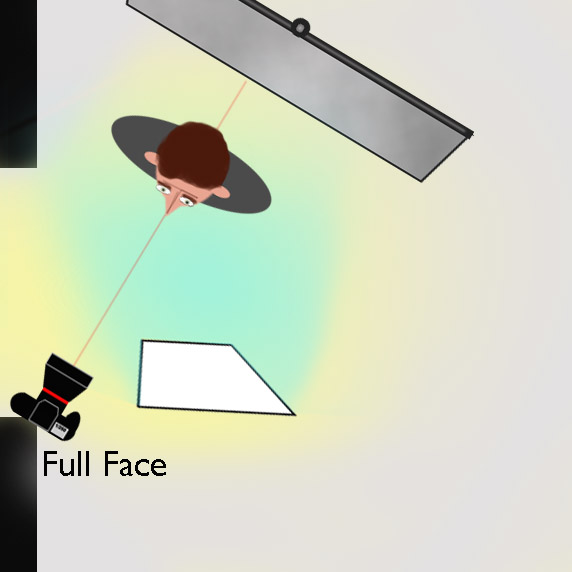
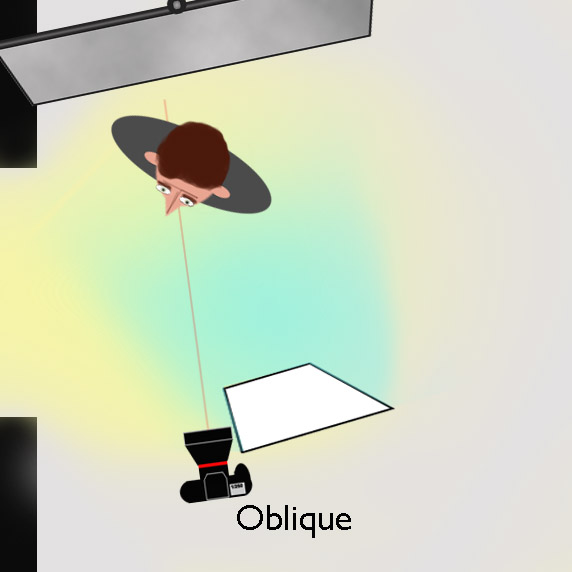
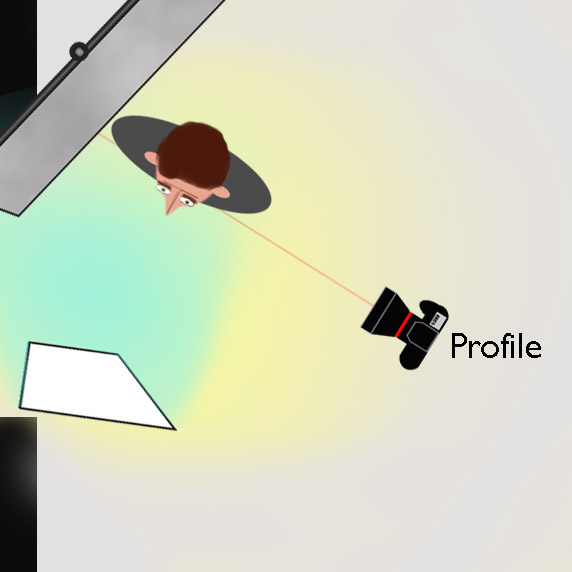
Once you get the lighting pattern set, full face, oblique or profile views are just a matter of moving the camera. The background and reflector are also moved.
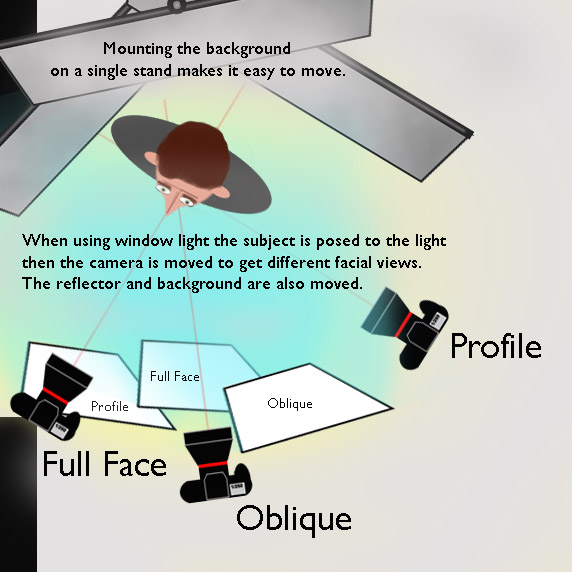
Try the reflector in various positions relative to the camera axis, keeping it as far forward as possible relative to the subject's face. The amount of fill needed will vary with the size of the room and how much of the light is reflecting off nearby wall. Beware of any objects like curtain which might introduce a color cast to the light.
Once you can master the three baseline facial views by window light you will understand how to use aritfical light. Use a softbox to replace the window and use a reflector, or replace the reflector with a second light placed near the camera axis where it will illuminate the subject evenly for full-face and oblique views, and in front of the subjects face for profile views.
Holistic Concepts for Lighting
and Digital Photography
This tutorial is copyrighted by © Charles E. Gardner. It may be reproduced for personal use, and referenced by link, but please to not copy and post it to your site.
You can contact me at: Chuck Gardner
For other tutorials see the Tutorial Table of Contents