Part Four - Digital Editing and Retouching Basics
by Chuck Gardner
|
6. Resizing:
Normally the next step would be resizing, but in for this example I started with a reduced copy of the original camera file. How a file is resized depends on how it will be used. See Part 5 - Determining Optimum Output Resolution for details on this step. 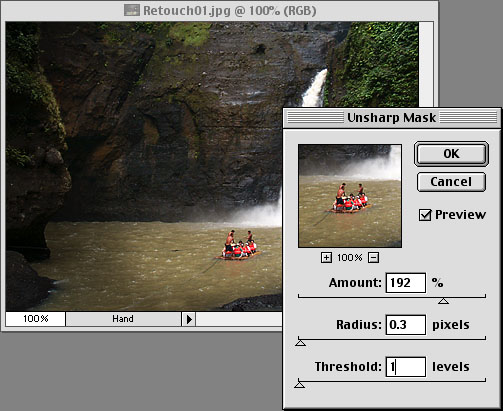
7. Sharpening: The amount of sharpening needed will vary, depending on the size and method of output. For this reason you should save the file before sharpening and make sharpening the last step before output. Select Filter - Sharpen - Unsharp Mask. PhotoShop will display the settings it determines. There are three adjustments: amount, radius (in pixels) and threshold. I find that for landscapes with fine details settings of amount = 200%, radius = .3, and threshold = 1 or 2 work well. For portraits I find amount = 70% - 150%, radius = .3, and threshold = 3 work well. See the PhotoShop manual and on-line help for further information on unsharp masking. Goto Next Page > Goto < Previous Page Goto Class Outline Goto super.nova.org my home page. |